Applies to: Customers who wish to sync email, contacts, and calendars on their Android Device.
Note: These instructions may vary slightly due to manufacturer modifications to the device. Older devices may not work with ActiveSync because they use a non-standard app.
You will need to know your
Server Hostname in order to complete the setup. If you do not know your
Server Hostname you can obtain it from the
Email Setup Wizard.
-
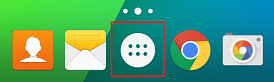
On your Android device, touch the "
Menu" button.
-
Tap
Settings.

-
Select Add Account, Accounts or Accounts & Sync (varies depending on device).
-
Select Add Account.
-
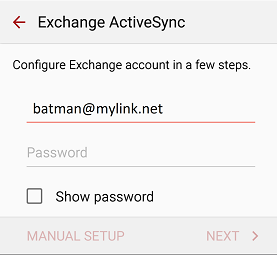
Select
Corporate, Corporate Sync, or Exchange ActiveSync (varies depending on device).

-
Enter your e-mail address and your password. (Some phones require you to click
Next after this step.)
-
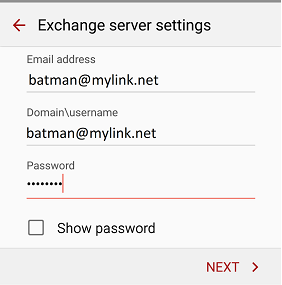
On the screen enter:
Email Address: your email address
Domain\Username: your email address (If the screen shows
Domain leave it blank)
Password: your email password
-
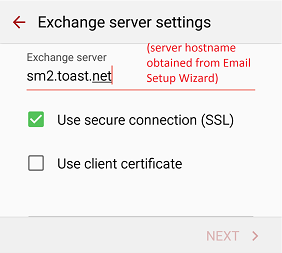
For Server, Mail Server, or Exchange Server, enter the
Server Hostname (obtained from the
Email Setup Wizard) and check
Use Secure Connection (SSL).
-
Select
Next and configure your personal preferences for the frequency and amount of data to synchronize.

-
Email setup is now complete. Depending on your device you may have more options to complete.
Article ID: 551, Created: 5/17/2016 at 2:34 PM, Modified: 4/16/2020 at 3:21 PM